
Remote Access VPN clientless SSL - ASA

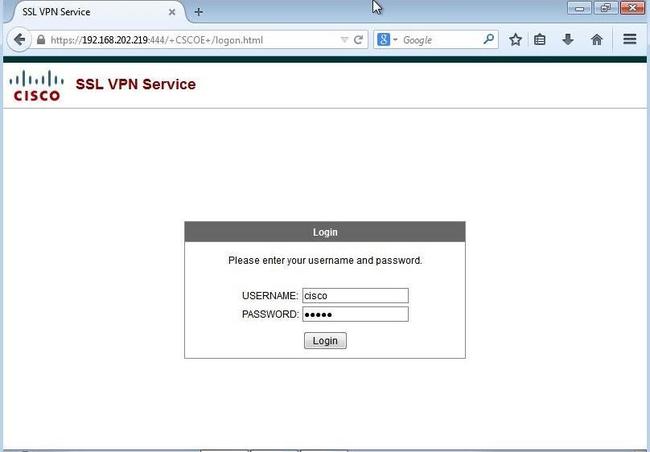
Next remote access VPN I would like to work with is SSL VPN clientless on ASA. The biggest advantage of this version is lack of software on client machines, you only need internet browser. Minimum configuration required is very simple:

webvpn
 port 444
 enable outside

username cisco password cisco
username cisco attributes
 service-type remote-access

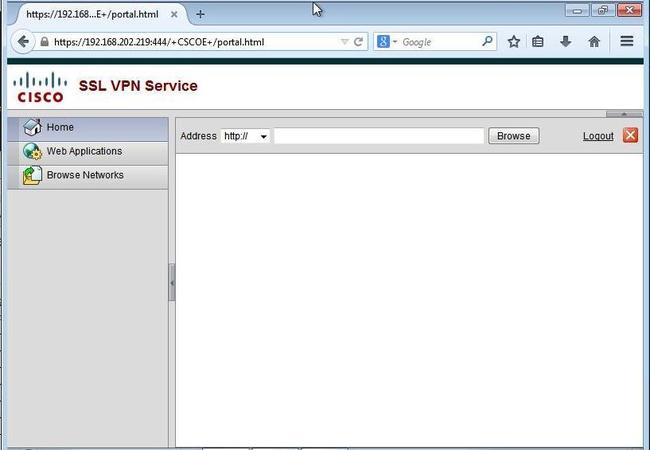
and now we can test it:

asa-webvpn-1-1.jpg 

asa-webvpn-1-2.jpg 

On the ASA we can also monitor this session:

asa1# sh vpn-sessiondb webvpn

Session Type: WebVPN

Username     : cisco                  Index        : 16
Public IP    : 192.168.202.237
Protocol     : Clientless
License      : AnyConnect Premium
Encryption   : RC4                    Hashing      : SHA1
Bytes Tx     : 7367                   Bytes Rx     : 12748
Group Policy : DfltGrpPolicy          Tunnel Group : DefaultWEBVPNGroup
Login Time   : 12:50:22 UTC Thu Dec 11 2014
Duration     : 0h:04m:55s
Inactivity   : 0h:00m:00s
NAC Result   : Unknown
VLAN Mapping : N/A                    VLAN         : none

asa1#
 
You need to remember that only traffic generated from the browser session can be encrypted, not like IPsec, where all traffic generated from the computer is sent over the tunnel (with one exception - split tunnel). If we for example ping the host 7.7.7.7, the traffic will be sent over the internet:

asa-webvpn-1-3.jpg

As you see the ping is not allowed on the outside interface and we can’t ping this host.

asa1(config)# sh run access-list OUT
access-list OUT extended permit icmp any host 9.9.9.9
asa1(config)#
 
We can test the tunnel by generating http from the webvpn portal:

asa-webvpn-1-4.jpg

I enabled http server on R15.

asa-webvpn-1-5.jpg 

asa-webvpn-1-6.jpg 

To secure web based application is straightforward. For other types application we can use Port Forwarding (legacy) and Smart Tunnel. More information about both you can find here:

a) Port Forwarding: http://www.cisco.com/c/en/us/td/docs/security/asa/asa82/configuration/guide/config/webvpn.html#wp1291474

b) Smart Tunnel: http://www.cisco.com/c/en/us/td/docs/security/asa/asa82/configuration/guide/config/webvpn.html#wp1218044

I pasted documentation from 8.2 version because the one I’m working on (8.4) doesn’t include CLI, only gui.

Comments

Popular posts from this blog

What should you know about HA 'override enabled' setting on Fortigate?

High availability is mandatory in most of today's network designs. Only very small companies or branches can run their business without redundancy. When you have Fortigate firewall in your network you have many options to increase network availability. You can use Fortigate Clustering Protocol ( FGCP ) or Virtual Router Redundancy Protocol ( VRRP ). FGCP has two modes: 'override' disabled (default) and 'override' enabled . I'm not going to explain how to set up HA as you can find many resources on Fortinet websites: https://cookbook.fortinet.com/high-availability-two-fortigates-56/ https://cookbook.fortinet.com/high-availability-with-fgcp-56/ Let's recap what is the main difference between them. The default HA setting is 'override' disabled and this is an order of selection an active unit: 1) number of monitored interfaces - when both units have the same number of working (up) interfaces check next parameter 2) HA uptime - an ...

FortiGate and GRE tunnel

Recently I worked on one project where a client requested to re-route web traffic to the GRE tunnel to perform traffic inspection. I would like to share with you what is required if you configure it on FortiGate. We need a new GRE interface and policy base routing (PBR) to change the route for specific source IPs. Of course you need firewall policies to permit the traffic. Let's start with GRE interface. Unfortunately you can't configure it using the GUI, only CLI is the option: config system gre-tunnel edit "gre1" set interface "port1" set local-gw 55.55.55.55 set remote-gw 44.44.44.44 next end When the end peer is Cisco router, you need to set the IP for the GRE interface: config system interface edit gre1 set ip 192.168.10.10 255.255.255.255 set remote-ip192.168.10.20 end In next step we need to fix routing. We need the alternate path via GRE but to keep the route in the active routing table you need to set the same AD (adminis...

Data Leak Prevention (DLP) on Fortigate

Today I would like to present one interesting feature you may find on your Fortigate - Data Leak Prevention. I know there are much better, dedicated solutions on the market but in certain situations the DLP feature available on FortiOS is good enough. Why you should use it? This is very important to say: the DLP in such deployment (on Fortigate) can't protect your data against every data leak. Users in your network with his/her mobile can easily take a photo of any document. Why we should still consider it? It is a good (and easy to deploy) method to prevent users' mistakes. It happened hundreds of time when a user attached a wrong file. Sound familiar? Using the DLP you can create policies which stop such leak. Let me show you how you can configure it. Step #1 First, you have to check if DLP is enabled in a "Feature Visibility" and "Security Features" section: When you do not see the feature, make sure your Fortigate works in a proxy-ba...